Step 1: Finding Reference
Find a photo that has a strong value range (dark to light), and where the form of the skull is clear.
Think chiaroscuro….
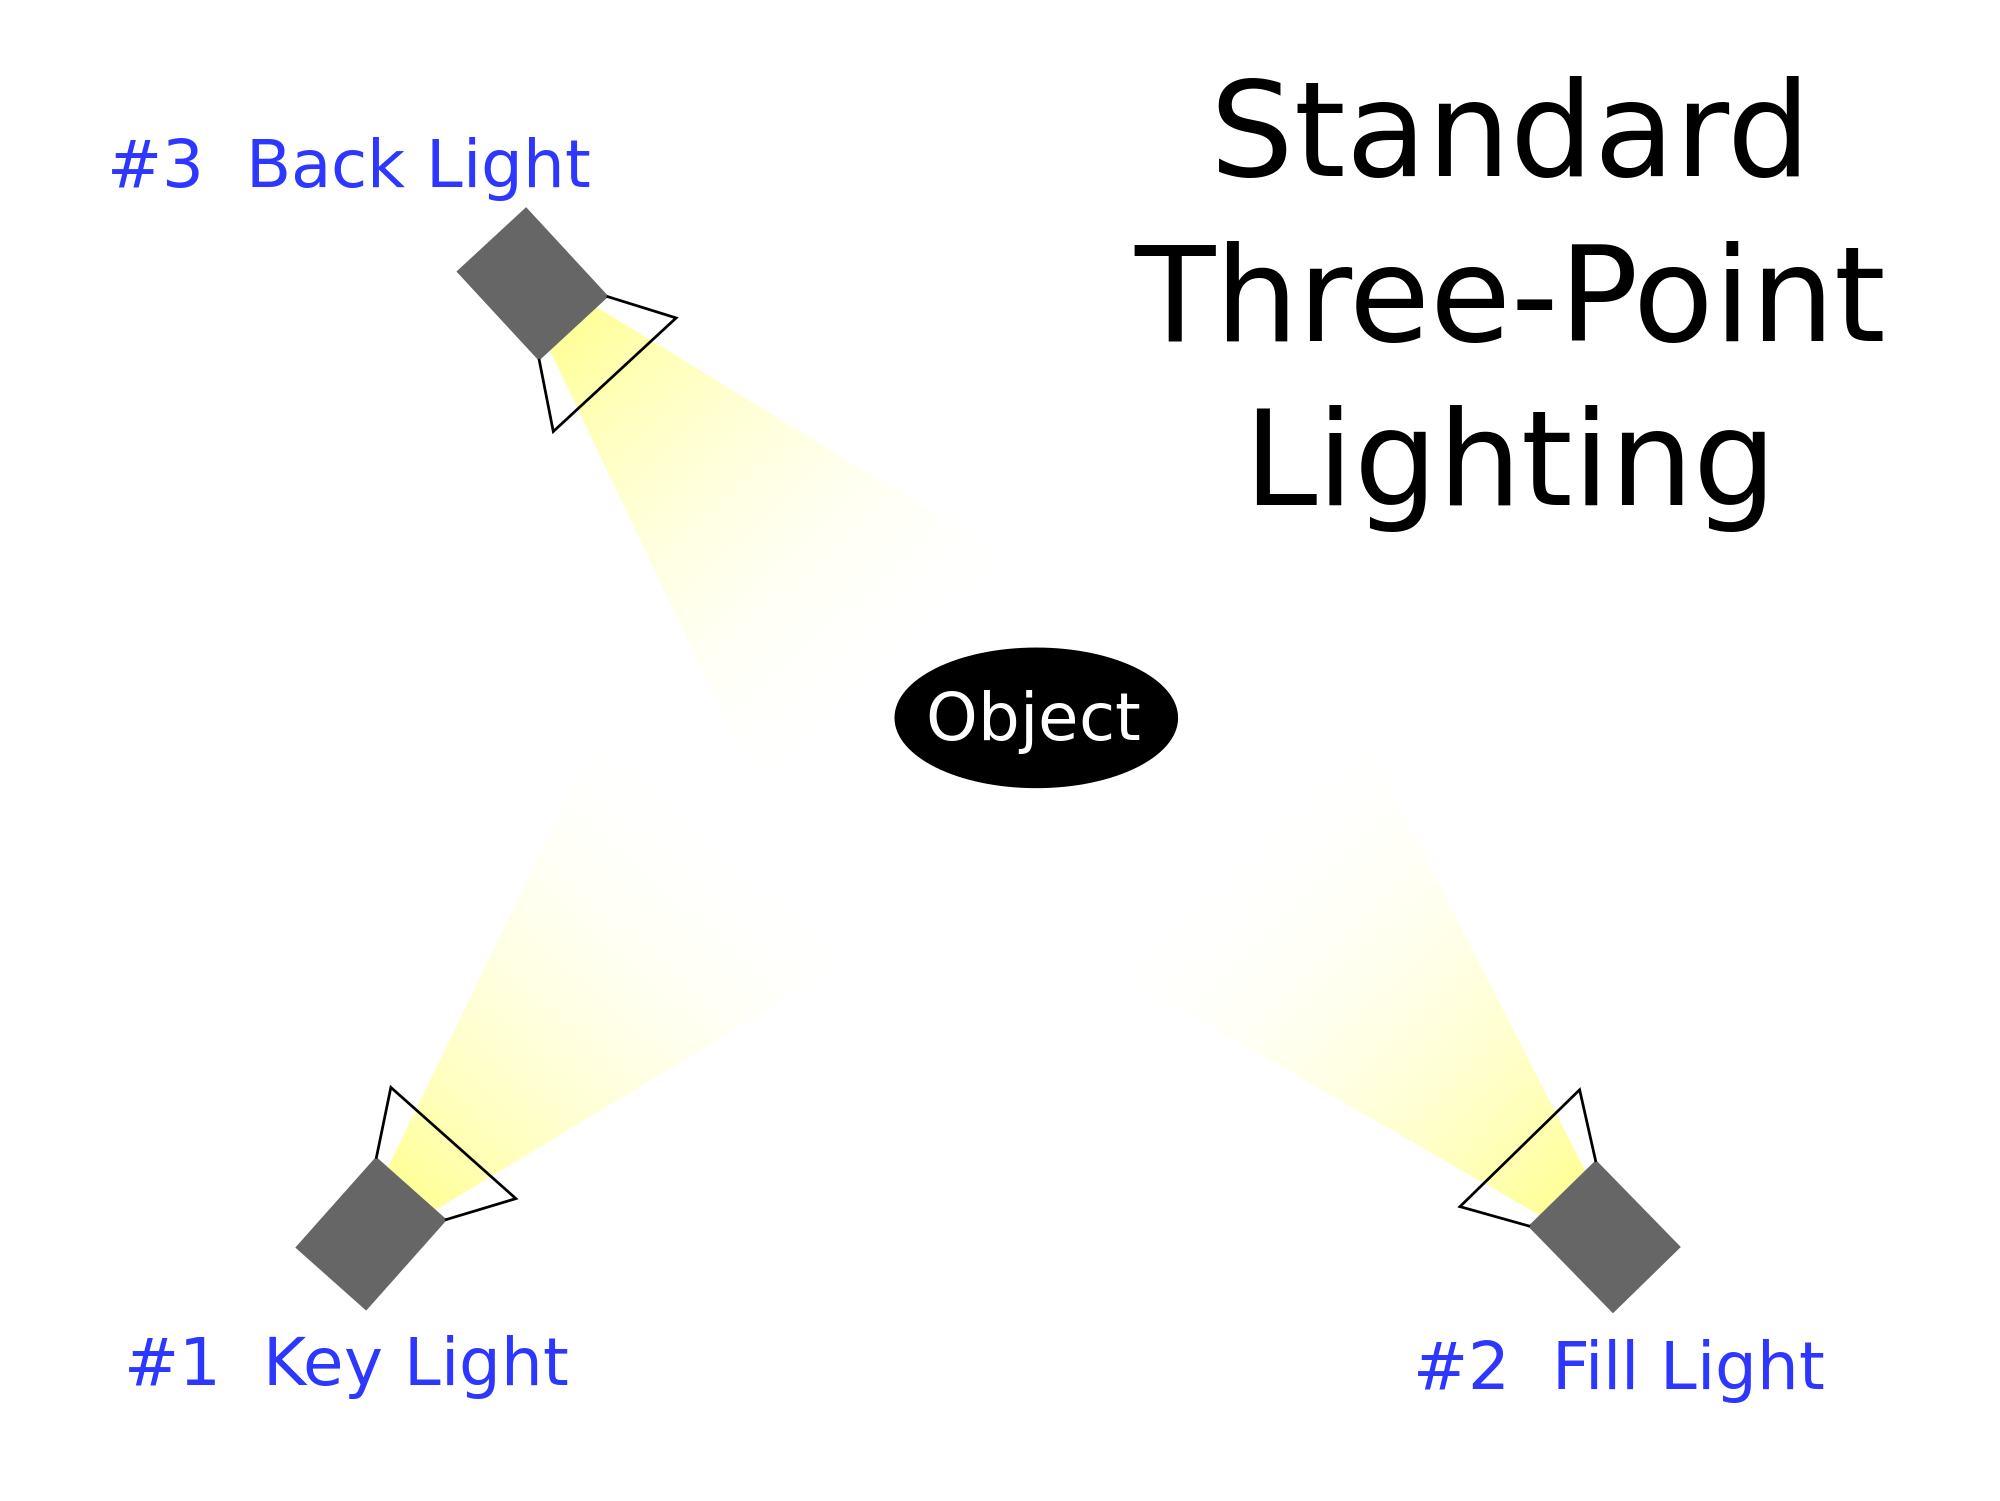
If you take your own photo, have 3 light sources: key, fill, and back light.
If you take your own photo, use adjustment layers in Photoshop to enhance the value range (levels, curves).
Remember that levels (and sometimes curves) adjustments will saturate (make the colors more vibrant), so compensate with a hue/saturation adjustment layer to desaturate a bit.
If you take your own photo, get multiple angles from the person you are painting. This helps when you paint to make the forms look believable.
Step 2: Drawing Tips
Focus on enhancing the sculpture of the form to compensate for the flattened perspective that portrait photography tends to use.
Draw lines across the form to indicate the skull underneath.
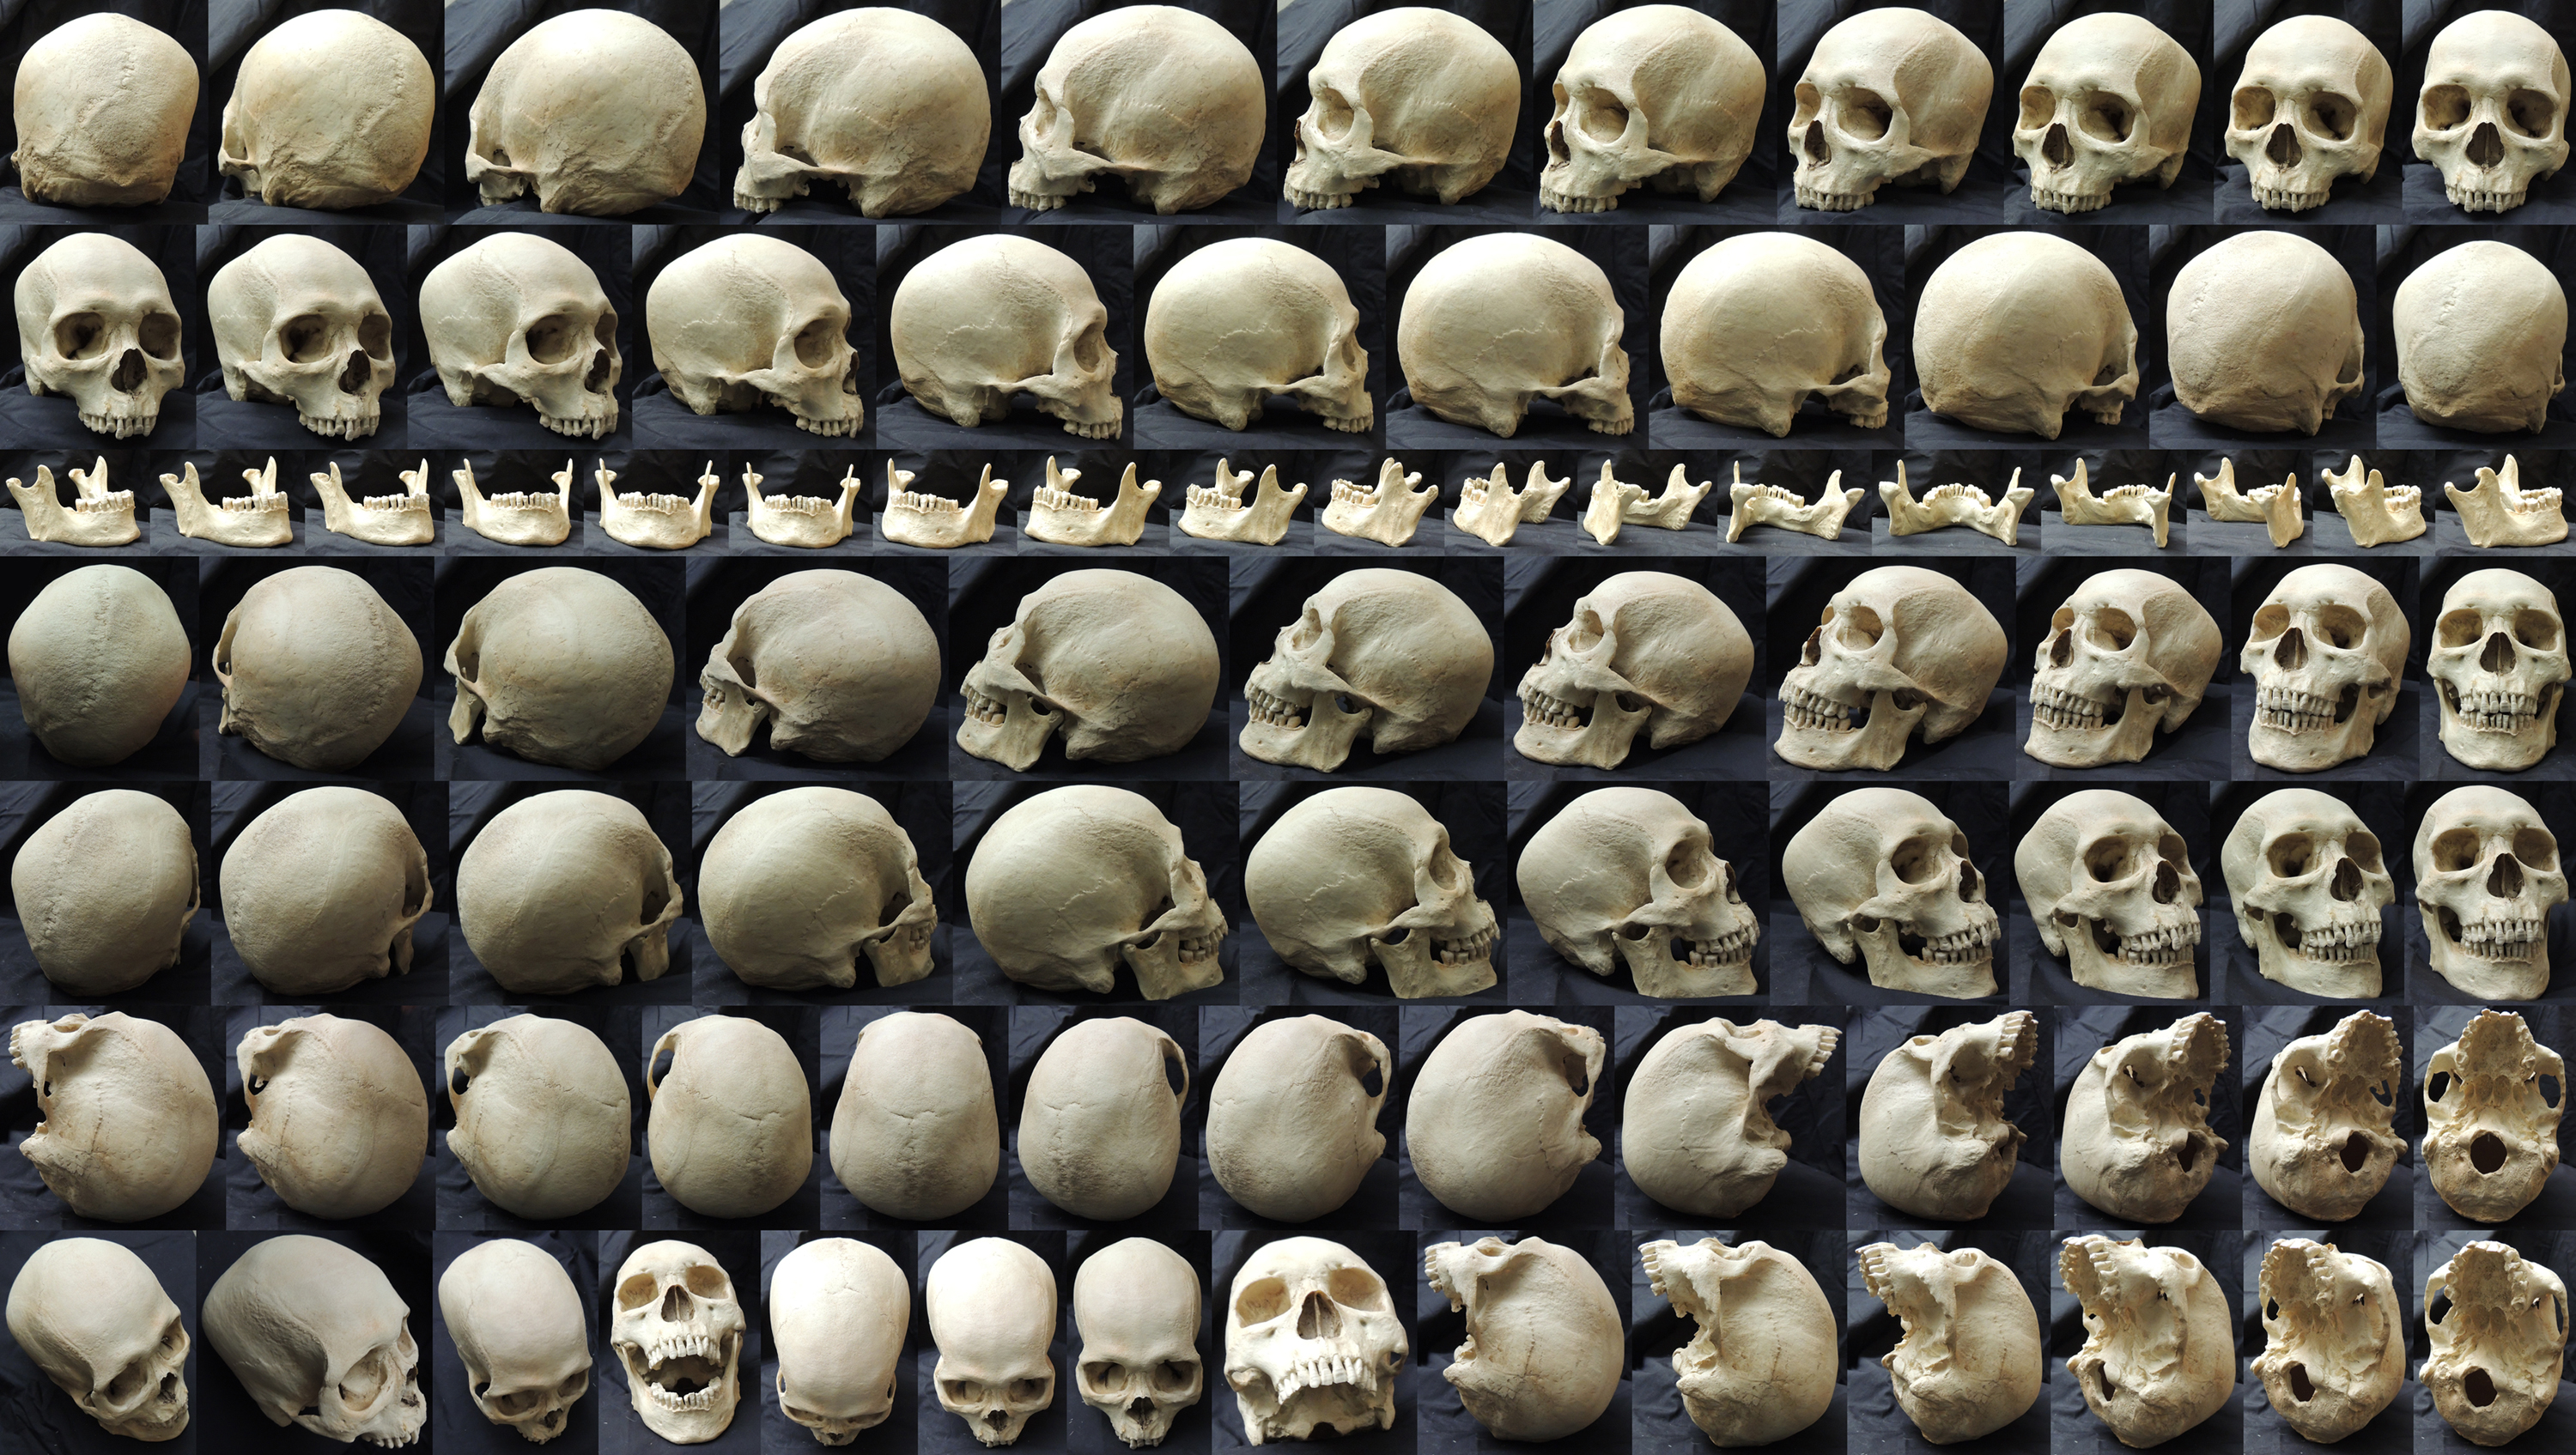
Skull reference!
Draw lines to indicate the plane changes. These will become your blueprint to use a different value of paint.
- Watch these Proko YouTube videos to see how the facial features are broken down into simple shapes!
Step 3: Painting Tips
Color sample your reference for dark values, mid-tones, and highlights from each light source for each local color.
This means there should be at least 9 samples for skin alone (3 tones times 3 light sources).
Build your skin in layers!
Paint the shadows first, and focus on the shape of the skull.
Next add mid-tones and focus on color variety.
Next add highlights. Be careful not to add too many highlights! Blend your mid-tones into your highlights so that you control how much bright values you use.
The natural skin tones in the face tend to be tinted slightly in thirds top to bottom: yellow forehead, red nose/cheeks, blue chin/neck. These shifts are subtle, so don’t overdo it. Also, glamour photos (Photoshopped) tend to reduce this natural color variety.
- Remember to keep an adjustment layer on top to desaturate the painting to make sure you have a strong value range.